As someone who loves giving gifts, I believe that wrapping a present is just as important as the gift itself. A beautifully wrapped present shows that you took the time and effort to make the recipient feel special. In this step-by-step guide, I will share with you my tips and tricks on how to wrap the perfect present.
Why wrapping a present is important
Wrapping a present is not just about making it look pretty. It adds an element of surprise and anticipation for the recipient. It also shows that you put thought and effort into choosing and presenting the gift. A well-wrapped present can set the tone for the entire gift-giving experience and make the recipient feel appreciated and valued.
Essential materials for gift wrapping
Before we get started, let’s gather the essential materials for gift wrapping. You will need:
- Wrapping paper
- Tape
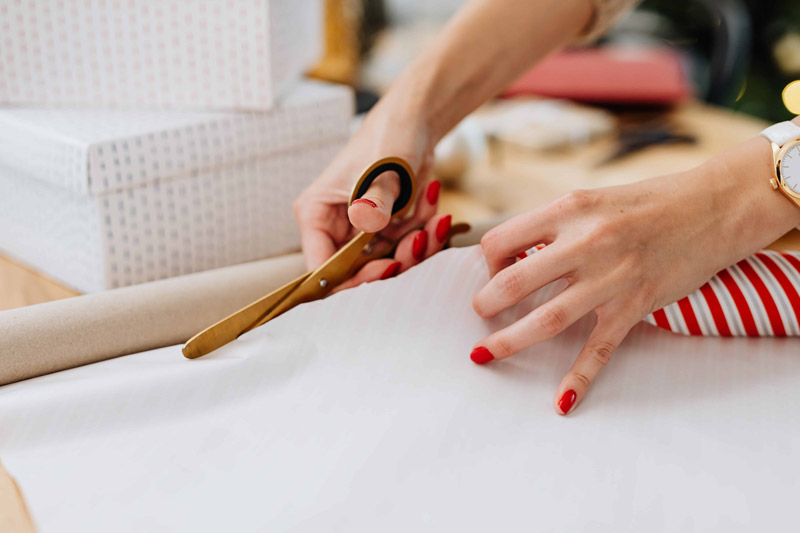
- Scissors
- Ribbon or twine
- Gift tags or labels
- Optional: tissue paper, gift bags, and embellishments such as stickers, bows, or ornaments.
It’s important to choose high-quality materials that will not tear or wrinkle easily. You can find a wide variety of wrapping paper designs and colors at any craft store or online retailer.
How to prepare the gift for wrapping
Now that we have our materials, let’s prepare the gift for wrapping. First, remove any price tags or labels and make sure the gift is clean and dry. If the gift has multiple parts, assemble them before wrapping. If the gift is fragile or has sharp edges, consider wrapping it in tissue paper or bubble wrap before wrapping it in the wrapping paper.
Step-by-step guide on how to wrap a box
- Cut a piece of wrapping paper that is slightly larger than the box. Place the box in the center of the paper with the top facing down.
- Fold one side of the paper over the box and secure it with a small piece of tape.
- Repeat with the other side, making sure to overlap the first side slightly in the center.
- Fold the ends of the paper inwards, creating two triangular flaps at the top and bottom of the box.
- Fold the top flap down and secure it with tape.
- Fold the bottom flap up and secure it with tape.
- Add a ribbon or twine around the box and tie a bow. Attach a gift tag or label to the ribbon.
Creative gift wrapping ideas
If you want to add a personal touch to your gift, here are some creative gift wrapping ideas:
- Use a map or sheet music as wrapping paper for a travel or music-themed gift.
- Use a plain brown paper bag and decorate it with stamps, stickers, or hand-drawn designs.
- Use a scarf, bandana, or cloth napkin as wrapping paper and tie it up with ribbon or twine.
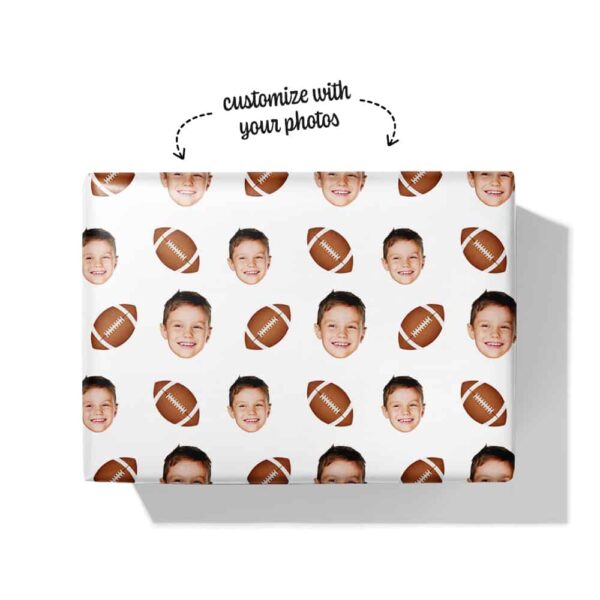
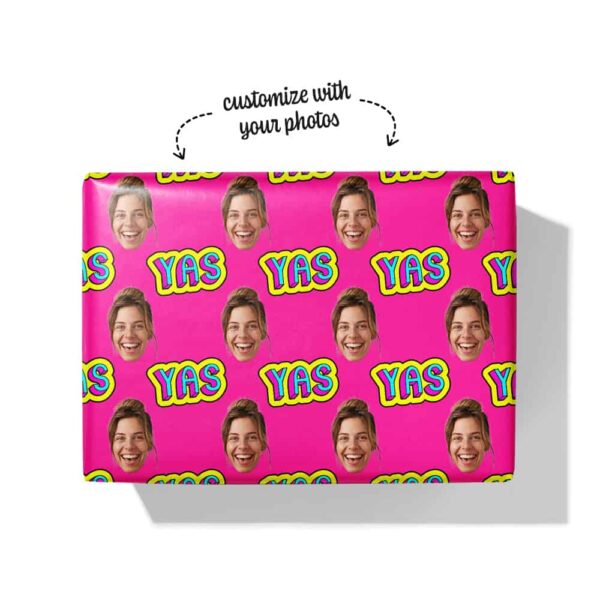
- Use a photo or a personalized drawing as the wrapping paper.
How to wrap an odd-shaped gift
Wrapping an odd-shaped gift can be a bit challenging, but it’s not impossible. Here’s what you can do:
- Use a gift bag: Gift bags come in various shapes and sizes and can accommodate most odd-shaped gifts.
- Create a custom box: If the gift is too big for a gift bag, you can create a custom box using cardboard or foam board and wrapping paper.
- Use tissue paper and ribbon: For smaller odd-shaped gifts, you can wrap them in tissue paper and tie them up with ribbon or twine.
Adding finishing touches to your wrapped present
Now that we have our gift wrapped, let’s add some finishing touches to make it look extra special:
- Attach a small ornament, such as a bell or a pine cone, to the ribbon or twine.
- Attach a sprig of fresh greenery, such as holly or ivy, to the ribbon or twine.
- Add a personalized gift tag or label with a heartfelt message.
- Use a metallic pen to write the recipient’s name in calligraphy on the wrapping paper.
DIY gift wrapping ideas
If you’re feeling crafty, here are some DIY gift wrapping ideas you can try:
- Make your own wrapping paper using stamps, stencils, or potato prints.
- Create your own gift tags using cardstock, markers, and stickers.
- Make your own ribbon or twine using yarn, fabric strips, or paper strips.
- Use dried flowers, leaves, or herbs as embellishments.
Wrapping presents for different occasions
Finally, let’s talk about wrapping presents for different occasions. Here are some ideas:
- Christmas: Use traditional colors such as red, green, and gold. Add ornaments, pine cones, or sprigs of holly or mistletoe.
- Birthday: Use bright colors and fun patterns. Add balloons, confetti, or a birthday candle.
- Wedding: Use elegant wrapping paper and a satin ribbon. Add a small bouquet of fresh flowers or a personalized wedding label.
- Baby shower: Use pastel colors and cute designs. Add a baby rattle or a pacifier as an embellishment.
Conclusion
Wrapping a present is an important part of the gift-giving experience. With this step-by-step guide and creative ideas, you can wrap the perfect present every time. Remember to choose high-quality materials, prepare the gift for wrapping, and add some finishing touches to make it extra special. Whether it’s for Christmas, a birthday, a wedding, or a baby shower, a beautifully wrapped present will make the recipient feel appreciated and loved.